
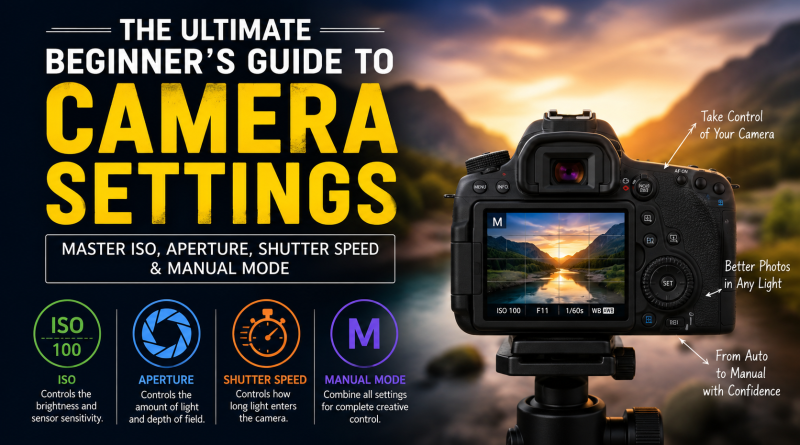
The Ultimate Beginner’s Guide to Camera Settings: Master ISO, Aperture, Shutter Speed & Manual Mode
Photography is more than pointing a camera and pressing the shutter button. While modern cameras and smartphones offer automatic modes that produce decent images, understanding your camera settings gives you complete creative control. Whether you’re using a DSLR, mirrorless camera, or an advanced compact camera, learning the basics of ISO, aperture, and shutter speed can dramatically improve your photos.
In this guide, you’ll learn the essential camera settings every beginner should know, how they work together, and the best settings for different photography situations.
Why Camera Settings Matter
Every photo is created by controlling the amount of light that reaches your camera’s sensor. The three primary settings—ISO, aperture, and shutter speed—work together to determine the brightness, sharpness, and overall look of your image. This relationship is known as the Exposure Triangle.
When you understand these settings, you can:
- Capture sharper images
- Control background blur
- Freeze or blur motion
- Improve image quality in low light
- Shoot confidently in manual mode
Understanding Camera Modes
Before adjusting settings manually, it’s important to know the shooting modes available on your camera.
Auto Mode
Auto mode allows the camera to choose all settings for you. It’s convenient for beginners but offers little creative control.
Aperture Priority (A or Av)
You choose the aperture, and the camera automatically selects the shutter speed. This mode is ideal for portraits and landscapes.
Shutter Priority (S or Tv)
You set the shutter speed while the camera adjusts the aperture. This is useful for sports, wildlife, and action photography.
Manual Mode (M)
Manual mode gives you complete control over ISO, aperture, and shutter speed. It takes practice but offers the greatest creative freedom.
ISO Explained
ISO measures your camera sensor’s sensitivity to light.
Common ISO Values
- ISO 100–200: Bright daylight with the best image quality.
- ISO 400–800: Cloudy weather or indoor lighting.
- ISO 1600–3200: Low-light conditions.
- ISO 6400 and above: Very dark scenes but may introduce noticeable image noise.
Best Practice
Use the lowest ISO possible while maintaining proper exposure. Lower ISO values produce cleaner, sharper images with less digital noise.
Aperture Explained
Aperture is the opening inside the lens that controls how much light enters the camera. It’s measured in f-stops.
Large Aperture (f/1.8 – f/2.8)
- Lets in more light
- Creates a blurred background (bokeh)
- Perfect for portraits and low-light photography
Medium Aperture (f/4 – f/8)
- Balanced sharpness
- Suitable for travel, street, and everyday photography
Small Aperture (f/11 – f/16)
- Greater depth of field
- Ideal for landscapes and architecture
Remember: A smaller f-number means a larger lens opening.
Shutter Speed Explained
Shutter speed determines how long the camera sensor is exposed to light.
Fast Shutter Speed
Examples: 1/500s, 1/1000s, 1/2000s
Best for:
- Sports
- Wildlife
- Birds
- Children playing
- Fast-moving vehicles
Slow Shutter Speed
Examples: 1/30s, 1 second, 10 seconds
Best for:
- Waterfalls
- Light trails
- Night photography
- Creative motion blur
Use a tripod whenever shooting at slow shutter speeds to avoid camera shake.
Understanding the Exposure Triangle
The Exposure Triangle combines ISO, aperture, and shutter speed to create a properly exposed photograph.
For example:
- Increasing ISO brightens the image but adds noise.
- Opening the aperture brightens the image while reducing depth of field.
- Slowing the shutter speed allows more light but may introduce motion blur.
Learning how these three settings affect one another is the foundation of photography.
White Balance
White Balance ensures colors appear natural under different lighting conditions.
Common settings include:
- Auto White Balance (AWB)
- Daylight
- Cloudy
- Shade
- Tungsten
- Fluorescent
Auto White Balance works well in most situations, but switching to the correct preset can improve color accuracy.
Autofocus Modes
Most cameras include several autofocus options.
Single AF (AF-S / One Shot)
Best for stationary subjects such as landscapes, portraits, and architecture.
Continuous AF (AF-C / AI Servo)
Perfect for moving subjects including sports, wildlife, and pets.
Automatic AF
The camera decides which focus mode to use.
For beginners, Single AF is the easiest mode to start with.
RAW vs JPEG
Choosing the correct file format is important.
JPEG
- Smaller file size
- Ready to share
- Camera processes the image automatically
RAW
- Highest image quality
- More editing flexibility
- Better recovery of highlights and shadows
If you plan to edit your photos, RAW is the better option.
Best Camera Settings for Beginners
Portrait Photography
- Mode: Aperture Priority
- Aperture: f/1.8–f/2.8
- ISO: 100–400
- Shutter Speed: 1/200s or faster
Landscape Photography
- Aperture: f/8–f/11
- ISO: 100
- Shutter Speed: Adjust as needed
- Use a tripod for maximum sharpness.
Sports Photography
- Shutter Speed: 1/1000s
- Continuous Autofocus
- Burst Mode enabled
- ISO: Auto or 400–1600
Night Photography
- Manual Mode
- ISO: 800–3200
- Wide aperture (f/2.8 or wider)
- Tripod recommended
Street Photography
- Aperture: f/5.6
- Shutter Speed: 1/250s
- ISO: Auto
Common Beginner Mistakes
Many new photographers make the same mistakes. Avoid these habits:
- Using Auto mode all the time
- Shooting with unnecessarily high ISO
- Ignoring composition
- Forgetting to clean the lens
- Not checking focus before taking a photo
- Overexposing bright scenes
- Underexposing night shots
- Relying only on camera presets
Practice is the fastest way to improve.
Quick Camera Settings Cheat Sheet
| Photography Type | Aperture | Shutter Speed | ISO |
|---|---|---|---|
| Portrait | f/1.8–2.8 | 1/200s | 100–400 |
| Landscape | f/8–11 | Variable | 100 |
| Sports | f/2.8–4 | 1/1000s | 400–1600 |
| Wildlife | f/4–5.6 | 1/1000s | 400–1600 |
| Street | f/5.6 | 1/250s | Auto |
| Night | f/2.8 | 5–30 seconds | 800–3200 |
Final Thoughts
Mastering camera settings takes time, but it’s one of the most rewarding steps in your photography journey. Start by understanding the role of ISO, aperture, and shutter speed, then experiment with different shooting modes and lighting conditions. As you practice, you’ll gain confidence and develop your own creative style.
If you’re looking to take your photography even further, great editing is just as important as great shooting. Professional post-processing can enhance colors, improve exposure, remove distractions, and give your images a polished, professional finish. Whether you’re a photographer, eCommerce seller, real estate professional, or business owner, ColourCubz offers expert photo editing and retouching services, including portrait retouching, product photo editing, image clipping, photo restoration, and real estate image enhancement. Their experienced editing team helps transform your photos into high-quality visuals with fast turnaround times and affordable pricing