
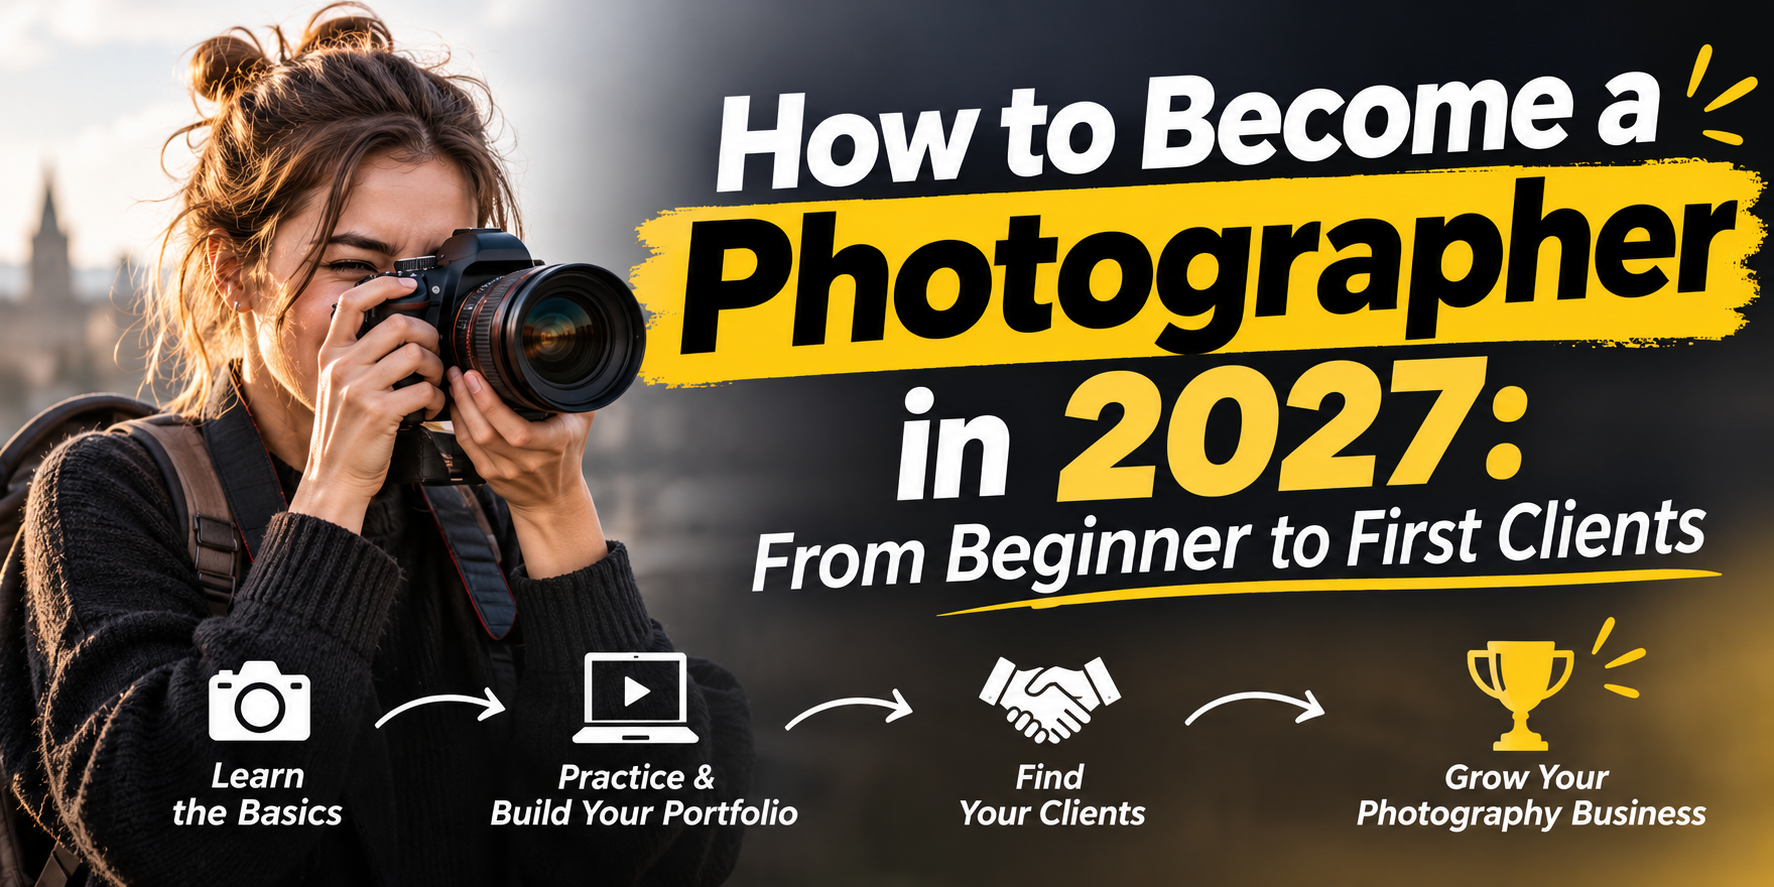
How to Become a Photographer in 2027: From Beginner to First Clients
You enjoy taking photographs. You notice interesting light, save images that inspire you and imagine turning that interest into paid work.
Then the questions begin.
Do you need an expensive camera? Should you learn editing first? What belongs in your portfolio? How do you approach a client when you have never completed a paid assignment?
If you want to become a photographer in 2027, start by building a repeatable process: learn to make useful photographs, practise completing realistic assignments, show relevant work and offer a clearly defined service.
You do not need to solve everything immediately. You need a manageable next step—and a way to judge whether your work is improving.
This guide takes you through that process, from your first practice sessions to preparing for client enquiries.
1. Decide What Kind of Photographer You Want to Become
“Photographer” covers many different types of work.
Photographing a restaurant menu requires different preparation from covering a wedding. A company headshot session involves different client expectations from producing images for an online clothing store.
Choose one area to explore first.
| Photography area | Possible clients | Useful beginner practice project |
|---|---|---|
| Portrait photography | Professionals, families and small teams | Create a consistent set of portraits with a willing subject |
| Product photography | Online sellers and independent brands | Photograph several products against a consistent background |
| Food photography | Cafés, restaurants and food businesses | Produce a small menu-style series |
| Real estate photography | Property agents, owners and accommodation businesses | Photograph a space with permission and show its layout clearly |
| Event photography | Organisers, businesses and community groups | Practise covering a small event with permission |
Your first choice does not have to be permanent. It simply gives your practice a purpose.
Ask yourself three questions:
- What subjects can I access regularly?
- What kind of photography do I enjoy enough to practise repeatedly?
- Who might need the photographs I can learn to produce?
Start where those answers overlap.
2. Learn How Light and Camera Settings Work Together
Before buying more equipment, learn why your photographs look the way they do.
Aperture, shutter speed and ISO are central camera controls. Aperture influences how much of the scene appears in focus, shutter speed affects the recording of movement, and ISO influences image brightness and noise characteristics. Understanding their relationship helps you make deliberate choices.
Practise one variable at a time.
Photograph the same subject with different apertures. Compare how the background changes. Photograph movement using different shutter speeds. Review when the motion appears frozen and when it becomes blurred.
Then examine focus, white balance and composition.
A useful practice session has one question:
“Can I keep the subject sharp while making the background less distracting?”
That gives you something specific to evaluate.
Taking hundreds of photographs without reviewing them may reinforce the same mistakes. After each session, choose a few successes and failures and explain why they happened.
3. Use the Equipment You Have to Identify What You Need
A smartphone can help you practise framing, observing light, directing a subject and building a visual sequence.
For paid assignments, equipment needs depend on the work. Consider whether your setup can handle the lighting, movement, image quality and delivery requirements of the assignment.
Before making a purchase, identify a specific limitation.
For example:
- You cannot frame a small room appropriately with your existing setup.
- Moving subjects are consistently difficult to capture sharply.
- Your lighting changes too much between product photographs.
- Your battery or storage capacity is insufficient for the planned session.
A clear limitation helps you decide whether to practise more, borrow equipment, rent for a project or buy something.
Include the less exciting essentials in your planning: batteries, storage, a reliable transfer method and backups. A camera is only one part of completing a job.
4. Practise With Assignments, Not Just Interesting Subjects
Personal exploration develops your eye. Assignment-based practice teaches you to deliver.
Write a simple brief before each project:
- Who are the images for?
- What should they communicate?
- Where will they appear?
- How many finished images are needed?
- What must remain consistent?
- When should the work be complete?
For example, a practice brief for a café might ask for one exterior image, two interior views, four menu items and a portrait of the owner.
This requires you to think about variety, sequence and usefulness—not just whether one image looks attractive.
Complete the full workflow. Plan the session, photograph, select, edit, organise and deliver the files.
You will learn where you struggle long before a paying client depends on you.
5. Build a Small Portfolio for a Specific Buyer
A portfolio should make it easy for someone to understand what they can hire you to do.
If you want product photography enquiries, show product photographs. If you want professional headshot work, show portraits with a consistent and appropriate finish.
Avoid filling your portfolio with unrelated images simply because you like them.
A practical starting point is a small collection of strong photographs from several relevant practice projects. The exact number matters less than whether the work is useful, consistent and representative.
Show complete sets where possible.
One good image demonstrates potential. Several images that work together demonstrate your ability to maintain quality across an assignment.
Label personal projects honestly. Do not present an unpaid practice shoot as a commercial campaign or imply that a business hired you when it did not.
Where appropriate, explain the brief and your contribution:
“Personal product photography project exploring consistent lighting across glass bottles.”
That provides context without inventing a client relationship.
6. Learn Enough Editing to Judge Your Own Work
Photography includes decisions made after the shoot.
Even if you eventually outsource editing, you need to recognise problems and explain the result you want.
Begin with a repeatable sequence:
- Remove unusable frames and select the strongest images.
- Review exposure and white balance.
- Adjust crop and alignment.
- Refine contrast and colour.
- Apply appropriate retouching.
- Check consistency across the set.
- Export for the intended use.
Avoid treating every photograph as an isolated creative experiment when it belongs to a client series.
A product catalogue needs coherence. A team portrait session needs consistent presentation. A property listing should not change dramatically in colour from room to room.
Also learn the limits of editing. Missing focus, obstructed details and unsuitable framing may require a new photograph rather than more processing.
The better you understand those limits, the better you can prepare at the shoot.
7. Develop a Clear Policy for AI-Assisted Editing
As you prepare for work in 2027, decide how you will handle tools that alter or generate image content.
The important question is what the client expects the photograph to represent.
Removing a temporary distraction may fit an agreed brief. Replacing a product feature, inventing a view or changing someone’s appearance may require a separate discussion.
Before using substantial alterations, clarify:
- Which changes the client permits.
- Whether the final image needs to document reality.
- Whether edited versions require labelling.
- How client images may be uploaded or processed.
- Who approves the final result.
Review all output carefully. You remain responsible for the photographs you deliver, including changes produced by automated tools.
Do not use generated client examples as evidence of photography work you personally completed.
8. Turn Your Skills Into a Defined Service
A potential client should understand what your offer includes.
“Professional photography available” gives very little information. A defined offer helps someone decide whether your service fits their need.
For example:
“A headshot session for a small business team, with an agreed number of edited portraits per person and versions prepared for the company website.”
Before quoting, clarify the project details:
- Number of subjects or products.
- Location and access.
- Required shots.
- Finished image quantity.
- Editing expectations.
- Delivery deadline.
- Intended image use.
- Additional versions or formats.
Avoid promising an unlimited amount of work. An unclear scope makes it difficult to estimate your time and difficult for the client to know when the project is complete.
9. Price the Complete Assignment
The photography session is only part of the job.
Your time may also include planning, travel, setup, selection, editing, communication, revisions and delivery.
Use a project estimate that accounts for those stages.
An illustrative assignment might involve:
| Task | Example time |
|---|---|
| Planning and client communication | 1 hour |
| Travel and setup | 1.5 hours |
| Photography | 2 hours |
| Selection and editing | 3 hours |
| Review and delivery | 0.5 hours |
| Total | 8 hours |
These figures are examples, not market rates or a standard timetable.
The purpose is to recognise that a two-hour session can require substantially more working time.
Build your quote from the actual scope, direct expenses, overhead and the value of your work. Account for the agreed usage as well.
After completing a project, compare your estimate with the time you actually spent. Use the difference to improve future quotations.
10. Find Your First Clients Through Relevant Conversations
Start with people and businesses whose needs match your portfolio.
If you photograph food, approach suitable cafés and restaurants. If your work focuses on products, look for sellers whose products you can photograph well.
Research enough to understand their business before contacting them.
A useful introduction explains:
- What you photograph.
- Why your work is relevant.
- Where they can see a small selection.
- What the next step would be.
Keep the message respectful and specific.
For example:
“Hello, I’m a photographer developing a food and café portfolio. I’ve put together a short collection showing menu items and interiors. If you are planning a menu update, I’d be happy to discuss the images you need and prepare a quotation.”
Avoid unsupported promises about sales or engagement. Offer photography deliverables you can control.
You can also build relationships with designers, marketing teams, event organisers and established photographers. Assisting on appropriate projects can help you learn preparation, communication and on-site expectations.
Follow up politely when relevant, and respect a clear lack of interest.
11. Make Your Website Answer Basic Client Questions
A simple portfolio website should explain your service quickly.
A visitor should be able to find:
- What you photograph.
- Where you work.
- Examples of relevant work.
- How your booking process works.
- What information you need for a quote.
- How to contact you.
If you serve a particular area, state the real location and travel coverage. A description such as “product photographer serving independent businesses in Bengaluru” is more informative than a vague claim to be the best photographer everywhere.
Organise different services into clear sections. Give each section relevant photographs and a useful explanation.
Keep the enquiry form manageable. A new client can usually begin with their name, contact information, project type, location and preferred timing.
12. Build Reliability Into Every Assignment
Your client experience begins before the camera comes out.
Confirm the brief, schedule, responsibilities and delivery expectations in writing. Agree on image usage and permissions appropriate to the project.
Before the session, check access, equipment, batteries, storage and the shot list.
After the session, protect the files. Maintain separate copies and confirm that backups are usable before clearing the original media.
Before delivery, inspect:
- Focus and editing quality.
- Correct names and image versions.
- Missing shots.
- Export dimensions.
- Delivery links and access.
If a problem affects the schedule, communicate early and give a realistic update.
Reliability is a practical skill. Build it through checklists and repeatable habits.
13. Know When Editing Support Would Help
As assignments increase, review where your time goes.
If you enjoy shooting and client work but struggle to complete routine editing on schedule, external support may be useful.
Calculate the full cost before deciding. Include the provider’s fee, your preparation time, review time and possible revisions.
Start with a representative sample. Supply source files, an approved reference and clear instructions.
Ask the provider to confirm:
- Included editing tasks.
- Output specifications.
- Turnaround for your actual quantity.
- Revision process.
- File handling arrangements.
- Project pricing.
Outsourcing works best when you can explain your standard and judge whether the delivered images meet it.
A Practical 90-Day Photography Plan
Use this as a flexible learning structure, rather than a promise that you will be ready for every paid assignment in three months.
Days 1–30: Build Control
Choose one photography area and practise regularly.
Work on light, focus, composition and exposure. Review your images after each session and record the most common problems.
Complete two or three simple briefs using subjects you can access safely and with permission.
Goal: Understand what makes your results repeatable.
Days 31–60: Complete Portfolio Projects
Plan several assignments that resemble the work you want to sell.
Produce complete sets, edit consistently and ask for specific feedback. Build a small portfolio page and clearly label practice projects.
Write a sample service description and estimate the time needed to deliver it.
Goal: Show relevant work and explain your offer.
Days 61–90: Test Your Service
Approach a manageable number of suitable prospects with personalised messages.
Prepare written briefs and quotations. Accept only assignments you can reasonably deliver, and seek assistance where the project requires skills or resources you do not yet have.
Track enquiries, feedback, completed work and actual time spent.
Goal: Learn how your photography works in a client setting.
Frequently Asked Questions
Can I become a photographer without a degree?
Many freelance assignments focus on the quality and relevance of your work, your communication and your ability to deliver. Requirements differ between employers and specialised roles.
Structured study can be useful, but practical experience, feedback and a credible portfolio also matter.
Can I start learning photography with a phone?
Yes. A phone can help you learn composition, observe light and practise working with a subject.
For a paid project, judge the equipment against the actual requirements rather than assuming one device is suitable for every job.
How long does it take to become a photographer?
There is no fixed timeline. Progress depends on your practice, feedback, chosen specialism and the complexity of the work.
Being ready for a straightforward product session does not automatically make you ready to cover an unrepeatable event.
How many photographs should be in my portfolio?
Include enough to demonstrate relevant, consistent work without adding weaker images simply to increase the total.
A small, focused portfolio is a useful starting point. Expand it as you complete stronger and more varied assignments.
Should I learn editing before outsourcing it?
Learn enough to select good source photographs, identify problems and communicate the desired result.
You do not have to perform every advanced technique yourself, but you should be able to review the final images responsibly.
Build Your Photography Career With a Dependable Editing Workflow
Becoming a photographer involves more than creating a striking image. You need to understand a brief, produce a consistent set and deliver work that the client can use.
As you develop that process, ColourCubz offers photo editing services including product editing, portrait retouching, real estate editing and panorama stitching.
Share a representative sample, your preferred editing style and the intended use of your photographs. Ask the team to confirm the scope, pricing and delivery schedule before committing to a full batch.
Whether you are preparing a portfolio or managing client assignments, a clear editing brief can help you maintain a consistent finish.
Contact ColourCubz to discuss photo editing support for your photography projects.