
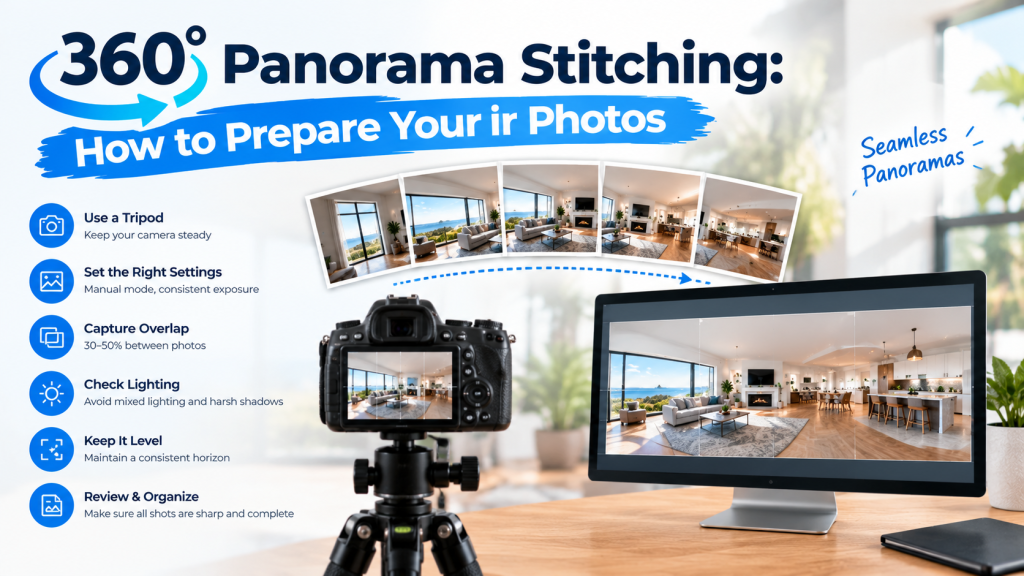
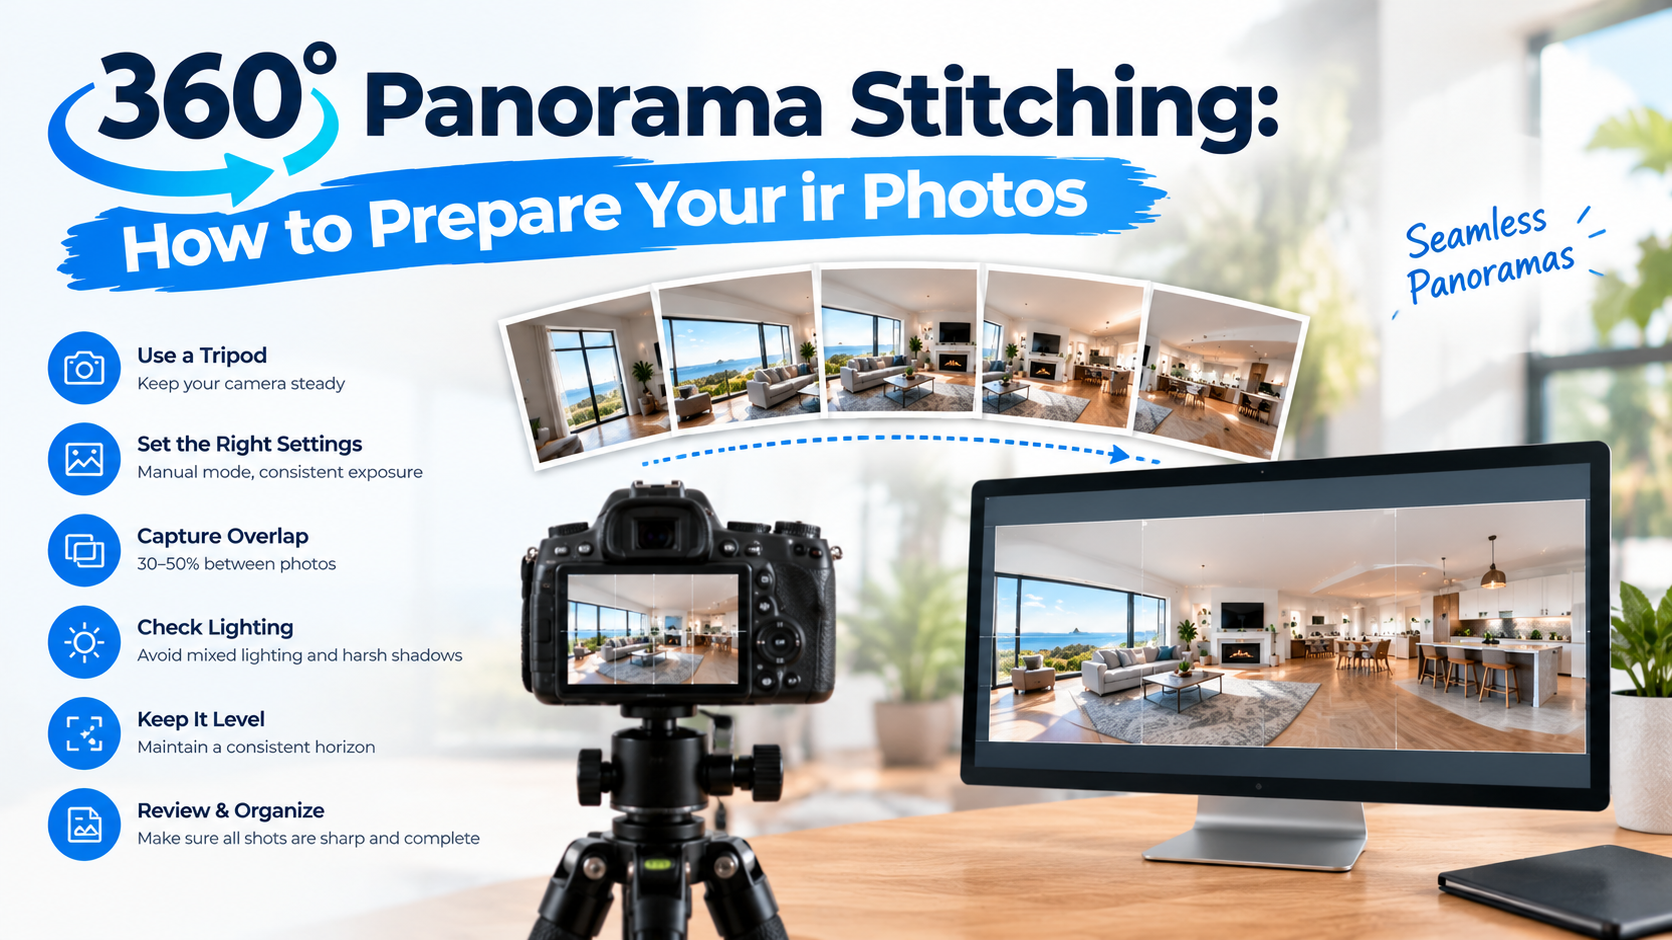
360 Panorama Stitching: How to Prepare Your Photos
You have finished photographing a property and are ready to send the files for panorama stitching. Before uploading, there is one important step: make sure the editing team can understand how the photographs fit together.
A folder containing hundreds of unnamed images creates room for confusion. Missing frames, unclear exposure groups and incomplete delivery instructions can interrupt the workflow.
When booking 360 panorama stitching services, prepare a clear handover for each viewpoint. This guide explains what to include so your editor can assess the source material and work towards the intended result.
1. Organise Each Viewpoint Separately
Create a separate folder for every panorama position.
For example:
- Property 104 — entrance.
- Property 104 — living room.
- Property 104 — kitchen.
- Property 104 — main bedroom.
Keep the photographs belonging to each position together. If you captured multiple attempts from the same spot, label the preferred sequence and keep alternatives separate.
This helps the editing team avoid combining frames from different camera positions.
Use the same room names in your brief, folders and feedback. Consistent naming makes revisions easier to track.
2. Supply the Complete Original Sequence
Before uploading, check that every intended frame is included.
Avoid sending only the photographs that look best individually. A frame that seems uninteresting may contain information needed to connect neighbouring views.
If you captured bracketed exposures, keep the complete groups and explain your capture pattern. Tell the provider whether your files are individual source images, partially processed photographs or an existing panorama that needs correction.
Where files are missing or a capture sequence was interrupted, flag this early. The editing team can then assess whether the remaining material is sufficient or whether another capture is advisable.
3. Explain the Intended Viewing Experience
A wide panoramic image and an interactive 360-degree scene serve different purposes.
Tell the provider how you plan to use the final image:
- An interactive property tour.
- A hotel or venue presentation.
- A website viewer.
- A flat panoramic banner.
- A client review file.
Share the destination platform and its current upload specifications. Confirm the required output format, dimensions and any platform-specific requirements before editing begins.
Also clarify the scope. A finished panorama image does not automatically include tour hosting, navigation hotspots or a complete multi-room virtual tour.
4. Identify Areas That Need Special Attention
Review your source photographs and flag potential difficulties.
Examples include people moving between frames, reflections, changing light, visible equipment and objects close to the camera.
Describe what happened during the shoot rather than promising that editing can fix it. For example:
“A person walked through the entrance during the final frames. An alternative sequence is included.”
That gives the editor useful context.
For floors and ceilings, explain how visible equipment or incomplete coverage should be handled. Ask the provider to confirm what can be corrected using the supplied material and where reconstruction would be required.
5. Agree on a Consistent Look Across Rooms
A virtual tour can feel disconnected when each room has a different editing style.
Provide a reference for brightness, colour and contrast. Ask for a coherent appearance while allowing real differences between rooms to remain.
A naturally warm dining area does not need to look identical to a daylight-filled conservatory. The objective is continuity without removing the character of the space.
If window views or mixed lighting need particular attention, include these instructions in the initial brief.
6. Review the Panorama in a Viewer
Do not approve an interactive panorama only by looking at the flattened image.
Open it in the intended viewer and inspect the complete scene. Rotate through the room, look upwards and downwards, and examine areas where adjoining frames meet.
Use this review checklist:
- Do doors, windows and furniture connect cleanly?
- Are any objects duplicated or partly missing?
- Does brightness change abruptly around the scene?
- Are floor and ceiling corrections distracting?
- Does the opening view face the intended direction?
Record feedback using the panorama name and a screenshot or clear description of the location.
Start With One Representative Panorama
Before commissioning a large property or venue project, select a representative viewpoint for review.
Include the kind of lighting, reflections and room features likely to appear elsewhere in the project. Once the result is approved, use it as a reference for the remaining panoramas.
Discuss Panorama Stitching With ColourCubz
ColourCubz offers 360-degree panorama stitching services.
Send your source sequence, viewpoint list and intended platform to the team. Ask them to review the material and confirm the editing scope, output specifications and delivery schedule.
Contact ColourCubz to discuss your next panorama project.