
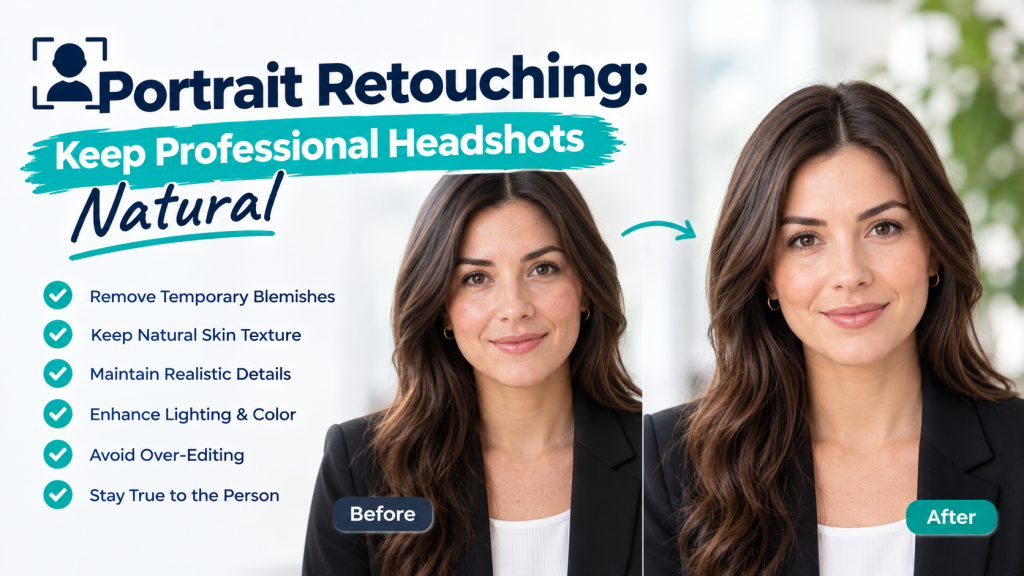
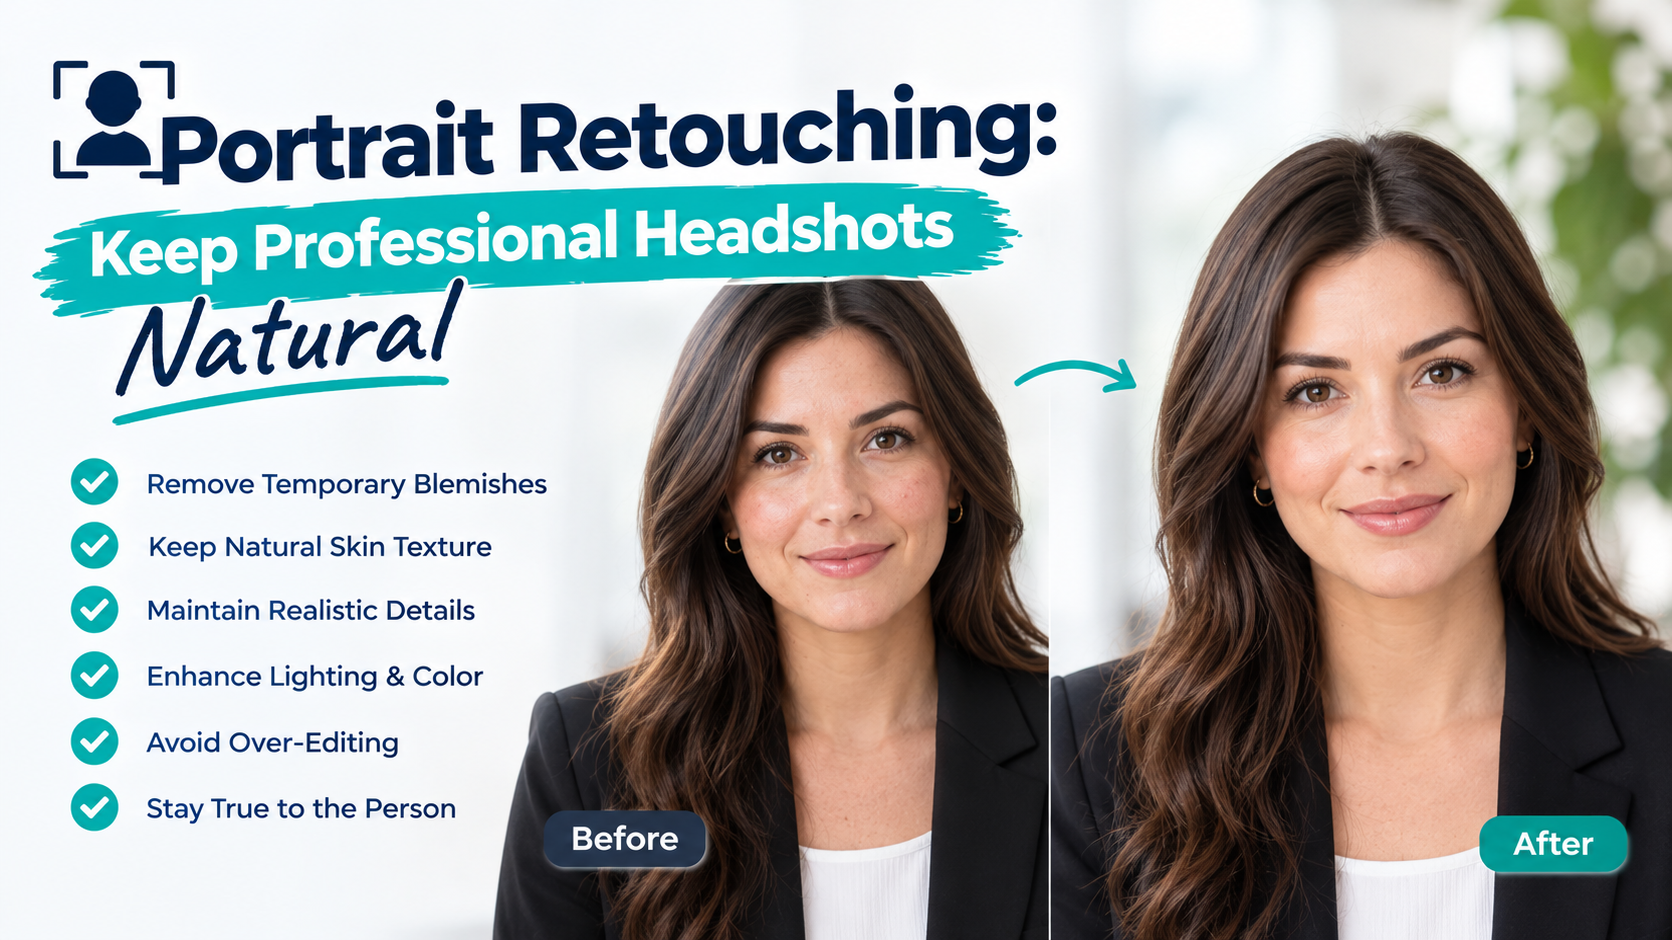
Portrait Retouching: Keep Professional Headshots Natural
A professional headshot should look like the person clients will meet.
Yet an unclear editing brief can lead to skin that looks overly smooth, eyes that appear unnaturally bright or facial features that no longer feel familiar.
Natural portrait retouching starts with agreed boundaries. Before outsourcing professional headshots, explain what should be refined, what should remain and where the photographs will be used.
This is especially useful when editing portraits for a company website, speaker profile or team directory.
1. Define What “Natural” Means for the Project
“Natural retouching” can mean different things to different people.
For one client, it means correcting lighting and removing temporary blemishes. Another may also want clothing cleanup and reduced facial shine.
Choose a reference portrait and explain the specific qualities you want to preserve. Include details such as visible skin texture, normal expression lines and realistic contrast.
Ask the person being photographed about their preferences when appropriate. A clear agreement before editing is easier than trying to reverse unexpected changes later.
2. Separate Temporary Distractions From Personal Features
A temporary spot is different from a freckle, scar or birthmark.
List the adjustments you want, and avoid treating every visible feature as something to remove.
Your instructions might include:
- Reduce temporary blemishes.
- Soften distracting shine.
- Preserve freckles and distinctive marks.
- Keep facial shape unchanged.
- Maintain visible skin texture.
If a client requests a particular change, identify it clearly rather than leaving the editor to guess.
This gives the retoucher a practical standard and helps protect the subject’s recognisable appearance.
3. Review Skin at Normal Viewing Size
Extreme close-up inspection is useful for finding editing errors, but it should not be the only way you judge a portrait.
Also view the photograph at the size people will actually see it: a profile image, website biography or printed programme.
Ask whether the face still looks believable. Watch for patches of texture that appear inconsistent, unnaturally uniform skin or sharp transitions between retouched and untouched areas.
The strongest approval question is often simple: does this still feel like the person?
4. Keep Eyes, Teeth and Hair Believable
Small adjustments can become distracting when pushed too far.
When reviewing a sample, look for eyes that seem much brighter than the rest of the face, teeth that appear pure white or hair edges that look unnaturally hard.
Specify how much cleanup is appropriate. A few stray hairs across the face may need attention, while removing every loose strand can change the character of the hairstyle.
For glasses, tell the provider whether you have alternative frames with reduced reflections. Additional source material may be more useful than trying to reconstruct hidden details.
5. Create Consistency Across Team Headshots
A company directory needs a shared presentation, even when its people have different appearances.
Agree on:
- Background treatment.
- Crop and head position.
- Space above the head.
- Overall brightness.
- Output dimensions.
- File naming.
Consistency should come from the presentation. It should not require making everyone’s skin tone, facial contrast or natural features look the same.
If portraits were photographed on different days, include an approved image from the existing set. This gives the editing team a reference for matching the overall style.
6. Explain How the Portraits Will Be Used
A tightly cropped profile image may not work for a website banner that needs space beside the subject.
List the required uses before editing begins. You may need separate versions for a team directory, professional profile and event promotion.
Keep a high-quality approved master and request the relevant delivery versions. Confirm whether the project includes background changes, clothing adjustments or only facial retouching.
For business portraits, also agree on who can access the source files and how images will be transferred.
7. Approve a Sample Before the Full Batch
For a team project, select a small sample that represents different lighting conditions, hairstyles, glasses and clothing.
Ask one reviewer to gather feedback and turn it into clear instructions. Conflicting comments from several people can make the editing direction difficult to follow.
Instead of “this looks too edited,” identify the issue:
“Please restore more skin texture around the cheeks and reduce the brightness of the eyes.”
An approved sample becomes a useful reference for the remaining portraits.
Request Portrait Editing From ColourCubz
ColourCubz includes portrait retouching within its professional photo editing services.
Share your portraits, intended uses and preferred level of retouching. Include a reference image and identify any features that should remain unchanged.
Contact ColourCubz to discuss individual headshots or a complete team portrait project.