
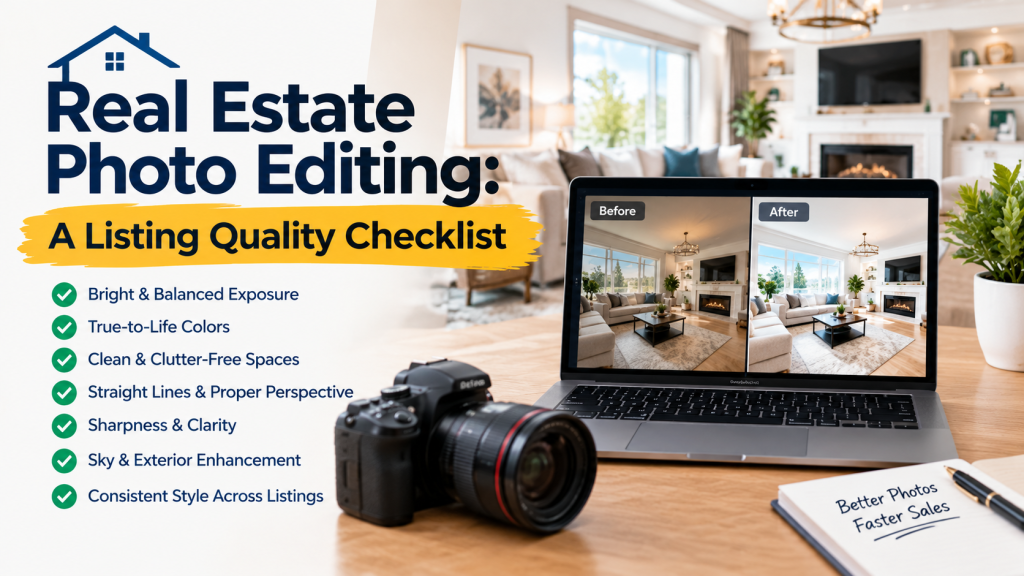
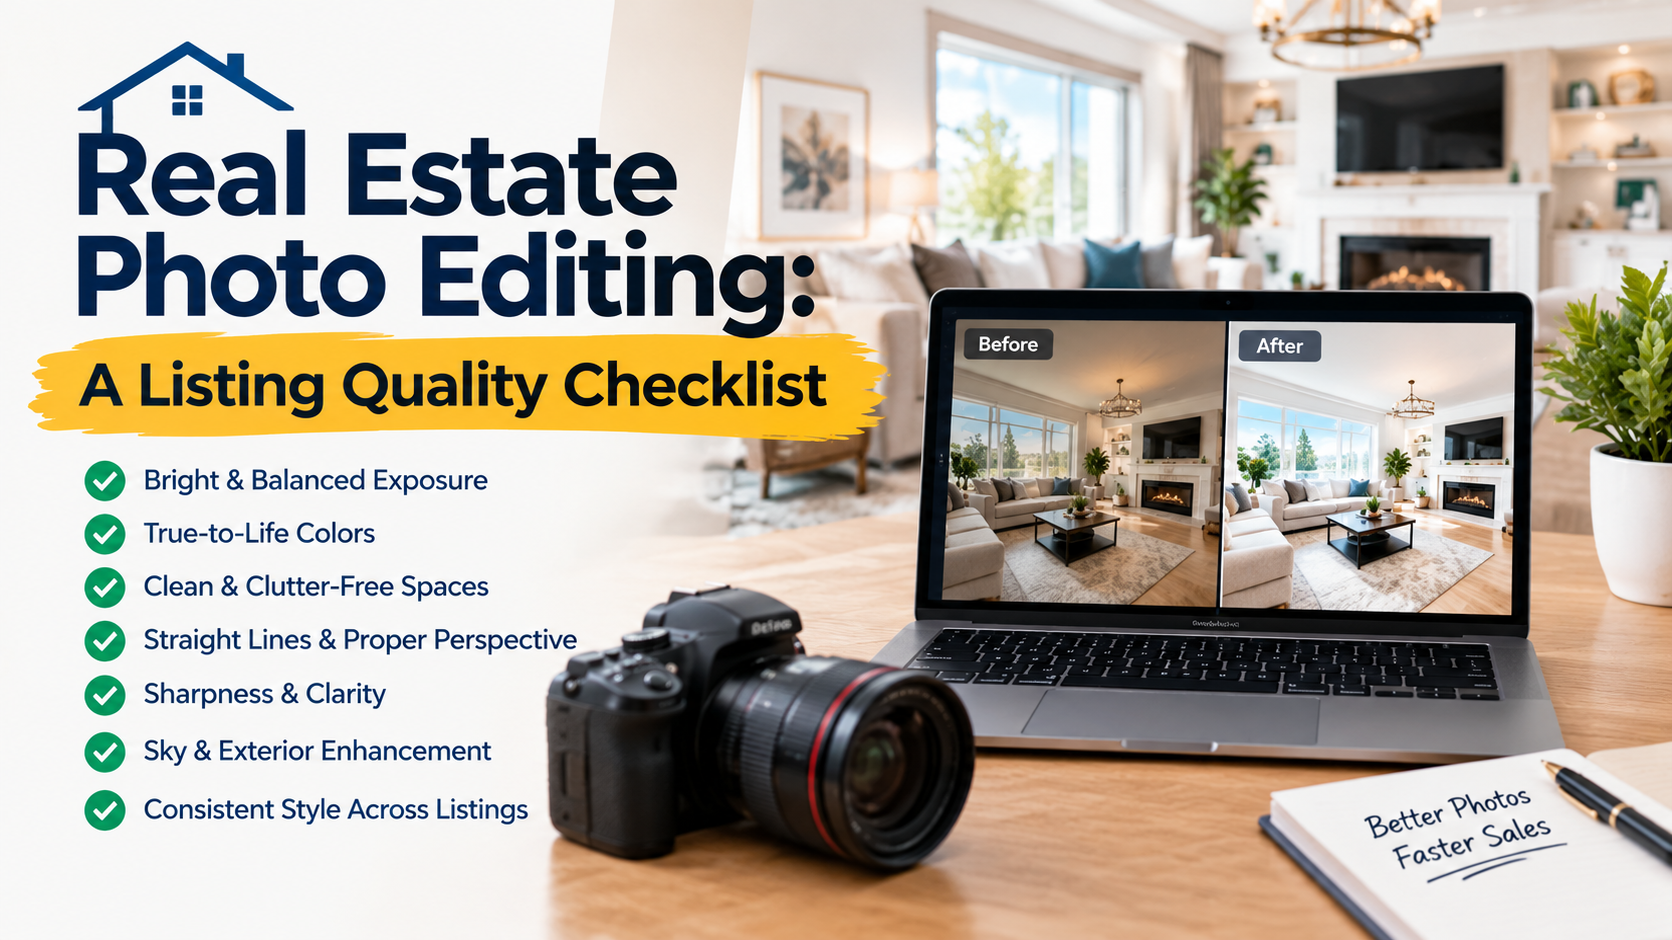
Real Estate Photo Editing: A Listing Quality Checklist
A living room looks bright and welcoming in one photograph. In the next, the same walls appear yellow, the windows are completely white and the room feels much darker.
These differences make a property listing harder to understand.
Real estate photo editing should help buyers see the property clearly while keeping its appearance believable. For photographers and property marketing teams, the most useful starting point is a consistent editing standard across the complete listing.
Before approving your next set of property images, review these six areas.
1. Check lighting across the entire property
Review the photographs as a sequence, beginning with the exterior and moving through the main rooms.
Does the brightness feel reasonably consistent? Can viewers see important features without parts of the image looking unnaturally bright?
Pay particular attention to adjoining spaces. A kitchen photographed from the living room should not look dramatically different in its own image.
Give your editing provider an approved reference that demonstrates your preferred brightness and contrast. Explain whether you want a clean, neutral presentation or a warmer editorial style.
2. Keep walls and finishes believable
Mixed lighting can make different parts of a room appear different colours. A neutral wall may look yellow near a lamp and cooler beside a window.
When reviewing edited images, compare repeated surfaces across several photographs:
- Walls and ceilings.
- Kitchen cabinetry.
- Flooring.
- Bathroom tiles.
- Large pieces of furniture.
Avoid asking for every surface to become pure white. Some finishes are naturally cream, grey or warm-toned.
Provide reference photographs when the original colour is important. Editors need reliable information to distinguish a lighting cast from the actual finish.
3. Review vertical lines and room proportions
Door frames, wall corners and window frames are useful visual checks.
Look for distracting leaning lines, but also review whether corrections have stretched furniture or changed the apparent shape of the room.
The goal is a clear representation of the space. A room should not appear substantially wider or taller simply because the image has been adjusted aggressively.
Where a photograph needs a heavy correction, ask whether a different frame from the shoot would give a more natural result.
4. Review window views in context
Window details should fit the room’s lighting and the actual property.
Check that the exterior does not look unnaturally dark compared with the interior. Look around window frames for obvious edges, halos or inconsistent blending.
When supplying several exposures of the same scene, organise them clearly so the editor can identify which files belong together.
If the original photographs do not contain usable exterior detail, discuss the limitation. Requesting a dramatic view that was never photographed can create an inaccurate impression of the property.
5. Agree on object removal before editing
A temporary camera bag is different from a permanent feature.
Before work begins, explain which distractions may be removed and which details must remain. Consider:
- Photography equipment.
- Temporary cables or personal belongings.
- Permanent fixtures.
- Visible damage.
- Neighbouring buildings and views.
Do not use editing to conceal material defects or change the property’s layout. If you commission virtual staging or other substantial alterations, agree on appropriate labelling and check the publishing platform’s requirements.
Clear instructions reduce uncertainty and give your team a consistent approval standard.
6. Check the final files at their intended display size
An image can look acceptable as a thumbnail while showing obvious problems when enlarged.
Review both views. Inspect edges, furniture, mirrors, windows and textured surfaces. Then look at the full listing on a mobile-sized screen.
Confirm that the delivery includes the correct image dimensions, orientation and filenames. Keep room names or property identifiers in the files so your publishing team can organise them easily.
A simple naming pattern might be:
property-104-living-room-01.jpg
What to Send Your Real Estate Photo Editing Provider
Prepare a brief containing the property identifier, source files, desired editing style, permitted adjustments, delivery dimensions and deadline.
Include one approved reference and identify any photographs that need special attention. If several people will review the work, nominate one person to combine their feedback.
Specific comments are easier to act on than general instructions. “Keep the timber floor’s warm tone” gives an editor a clearer direction than “make the colour better.”
Prepare Your Next Property Listing With ColourCubz
ColourCubz provides photo editing support for real estate imagery. Share a representative set of photographs and explain the finish you want before confirming the full project.
Explore ColourCubz’s photo editing services or contact the team to discuss your property images, editing scope and delivery requirements.